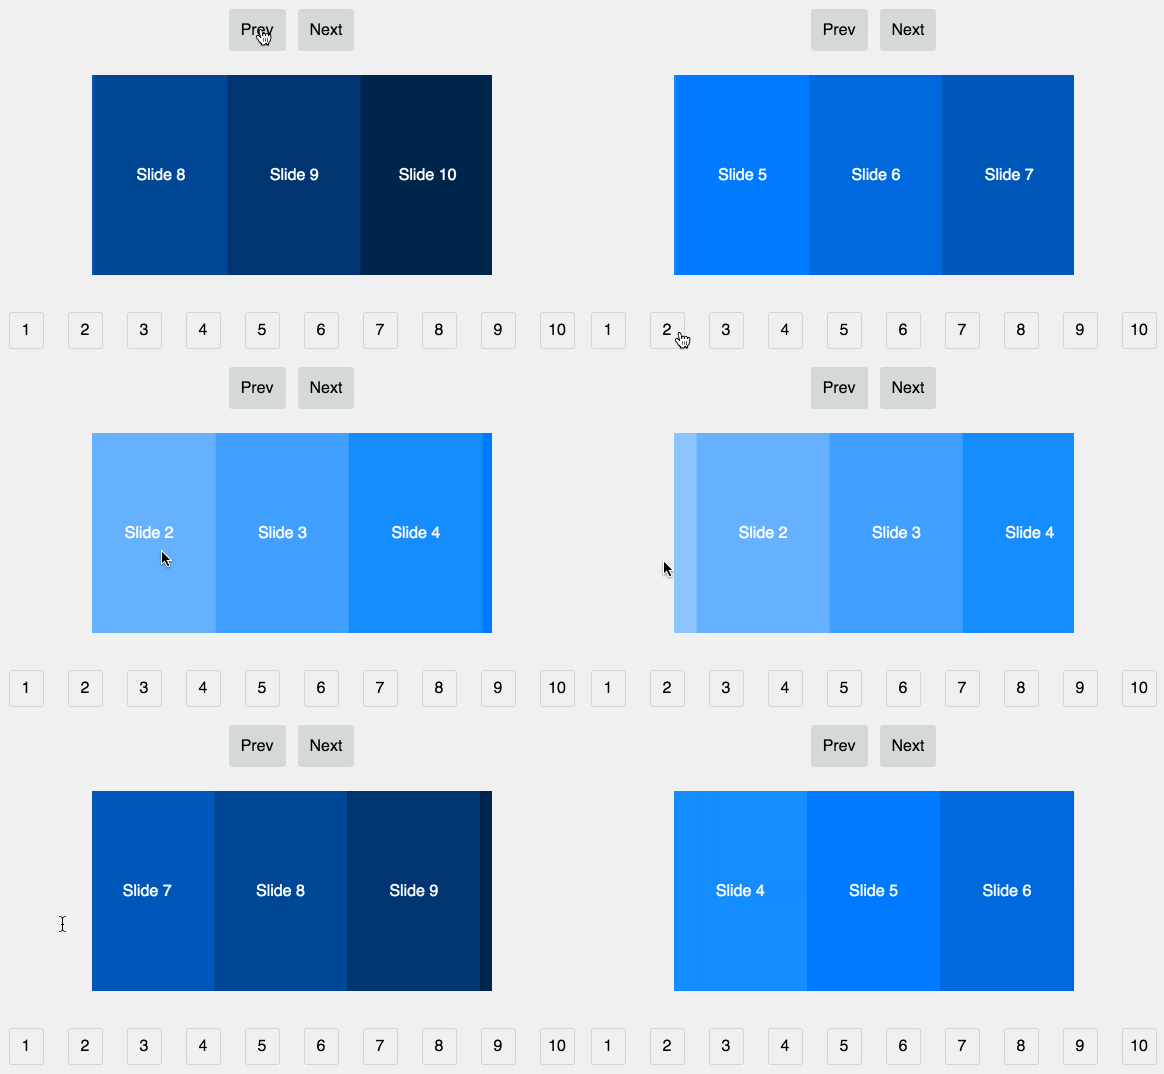
Creating a Stunning Image Carousel in React: A Step-by-Step Guide
An image carousel, a dynamic slideshow of images that users can easily navigate through, is an engaging addition to many websites. In this article, we'll provide you with a beginner-friendly, step-by-step guide to creating a basic image carousel project in React that's not only visually appealing but also optimized for search engines.
Step 1: Setting Up Your Environment
Before we dive into the world of React image carousels, ensure that your development environment is ready. Make sure you have Node.js and npm (Node Package Manager) installed on your computer. If these are not yet installed, you can download and install them from the official Node.js website.
Step 2: Creating a React Application
To start building your image carousel project, open your terminal and execute the following commands:
npx create-react-app image-carousel cd image-carousel These commands will initialize a new React app named "image-carousel" and navigate you into the project directory.
Step 3: Organizing Your Project Structure
Now, let's structure your project effectively. Replace the contents of src/App.js with the following code:
import React, { useState } from 'react'; import './App.css'; const images = [ 'image1.jpg', 'image2.jpg', 'image3.jpg', 'image4.jpg', // Add more image filenames here ]; function App() { const [currentIndex, setCurrentIndex] = useState(0); const prevImage = () => { setCurrentIndex((prevIndex) => (prevIndex === 0 ? images.length - 1 : prevIndex - 1)); }; const nextImage = () => { setCurrentIndex((prevIndex) => (prevIndex === images.length - 1 ? 0 : prevIndex + 1)); }; return ( <div className="App"> <h1>Image Carousel</h1> <div className="carousel"> <button onClick={prevImage}>Previous</button> <img src={images[currentIndex]} alt={`Image ${currentIndex + 1}`} /> <button onClick={nextImage}>Next</button> </div> </div> ); } export default App; Step 4: Styling Your Image Carousel
To make your image carousel visually appealing, let's add some basic styling. Create a new CSS file named src/App.css and include the following styles:
.App { text-align: center; padding: 2rem; } .carousel { display: flex; align-items: center; justify-content: center; margin-top: 1rem; } img { max-width: 100%; max-height: 400px; border: 1px solid #ccc; box-shadow: 0px 0px 5px rgba(0, 0, 0, 0.3); margin: 0 20px; } button { padding: 0.5rem 1rem; font-size: 1rem; background-color: #007bff; color: #fff; border: none; border-radius: 4px; cursor: pointer; margin: 0 10px; } button:hover { background-color: #0056b3; } Step 5: Running Your Application
To see your image carousel in action, navigate to your project directory in the terminal (if you're not already there) and execute:
npm start Your image carousel app should now be up and running at http://localhost:3000.
Step 6: Expanding Your Carousel
To add more images to your carousel, simply place the image files in the public folder of your project and update the images array in src/App.js with the new image filenames.
By following these steps, you'll have not only created a functional image carousel in React but also optimized your project for SEO by providing clear, structured content that's engaging and valuable to both users and search engines. Happy coding!
In this rewritten version, the title is more descriptive, important keywords like "React image carousel" have been incorporated, and the content is structured for improved readability and SEO.

